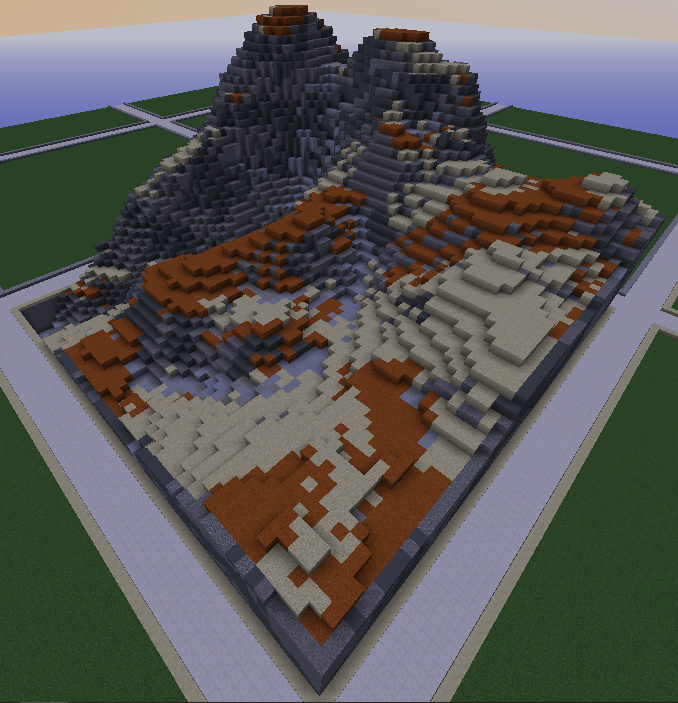
Final result of demonstration:
https://i.imgur.com/B3Ui1XR.png
-
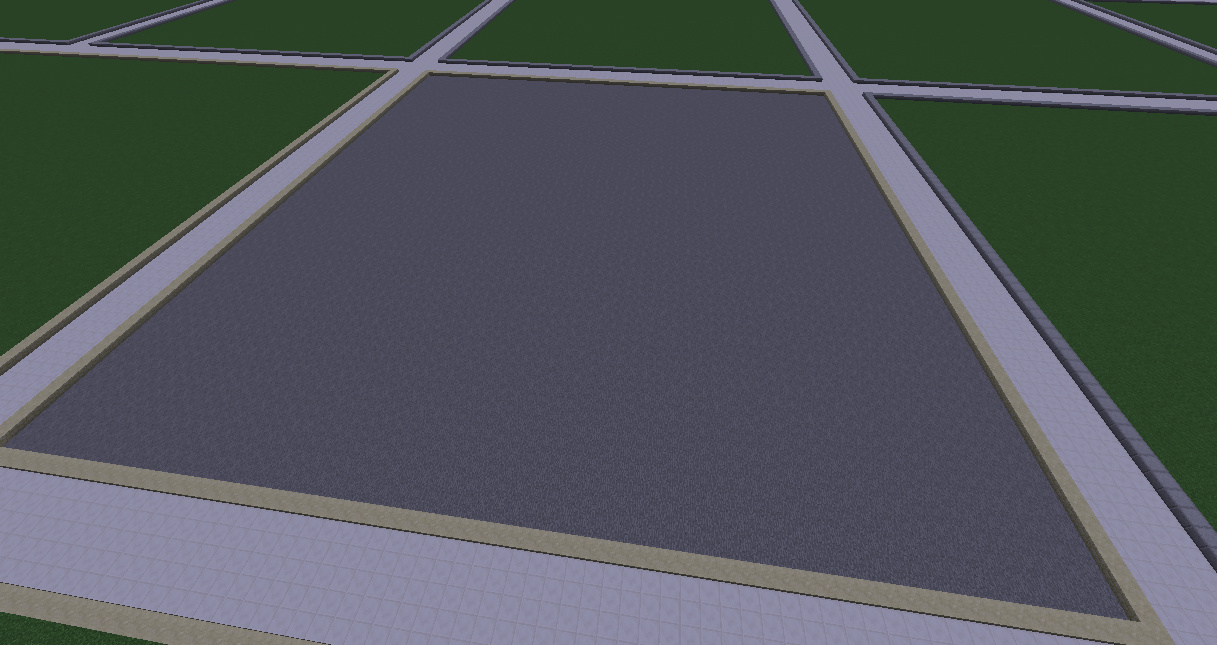
Create a big flat area to work with. (Using a small plot for the purposes of the demonstration)
-
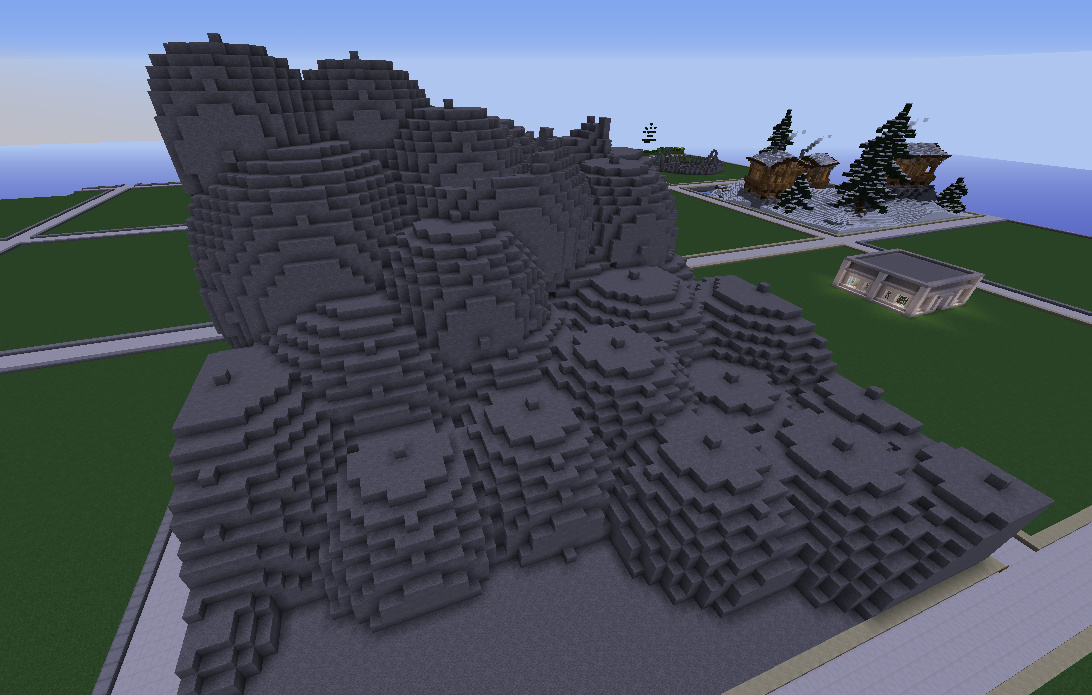
Start placing huge balls (with a radius of between 10 and 30) to get the rough terrain shape. Cubes and cylinders also work and I sometimes use them.
-
Use voxel sniper brushes to sculpt out the details. My favourite brush for this is
/b eb lift, though some people prefer to use something like/b eb fill. You can remove thebfromebto make it so it simply does the main function without smoothing it out at the same time; this will probably mean a bit less time spent on smoothing later but you won’t see exactly how the terrain looks until you finish. Start out with extremely big ones (size 20 or so), slowly go down to about size 5 as you progressively get the terrain shape down. Depending on the terrain this is the most time-consuming part. This is also the part that requires the most experience, and reference plus knowledge of natural erosion processes can really help here.
-
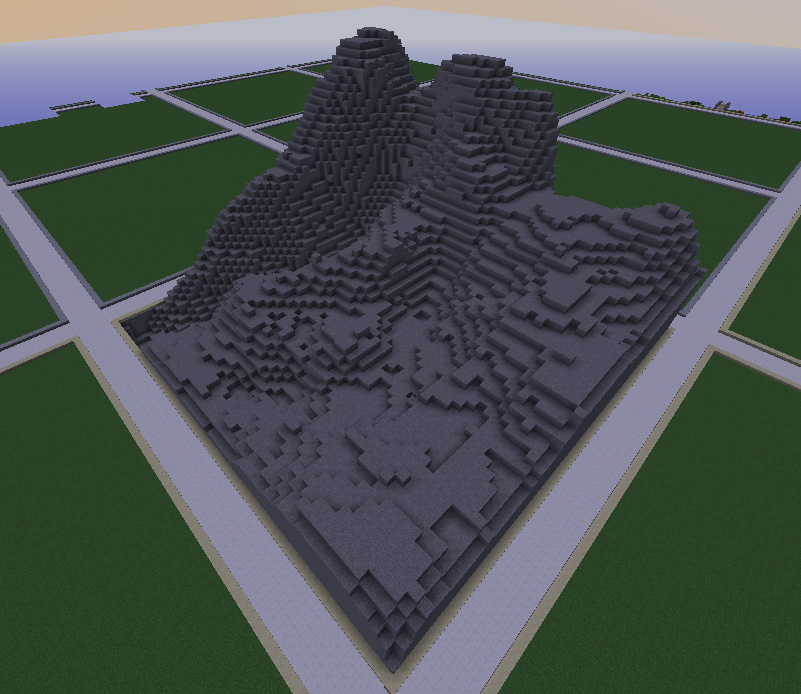
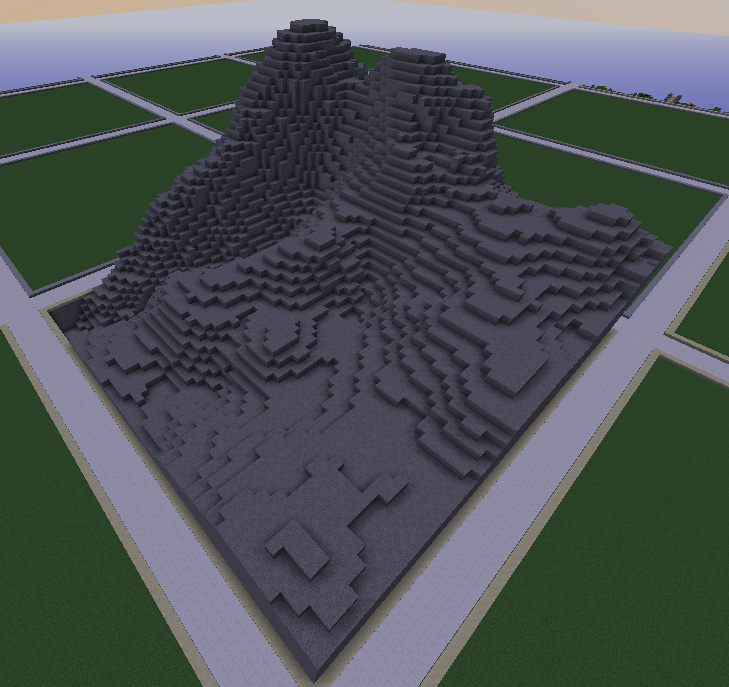
Smooth everything. Either selecting everything and doing the //smooth command (which can give nice curvy shapes depending on the parameters - though it may look too smooth. You could go over this with a slight layer of the lift brush to add roughness). You can also smooth by using
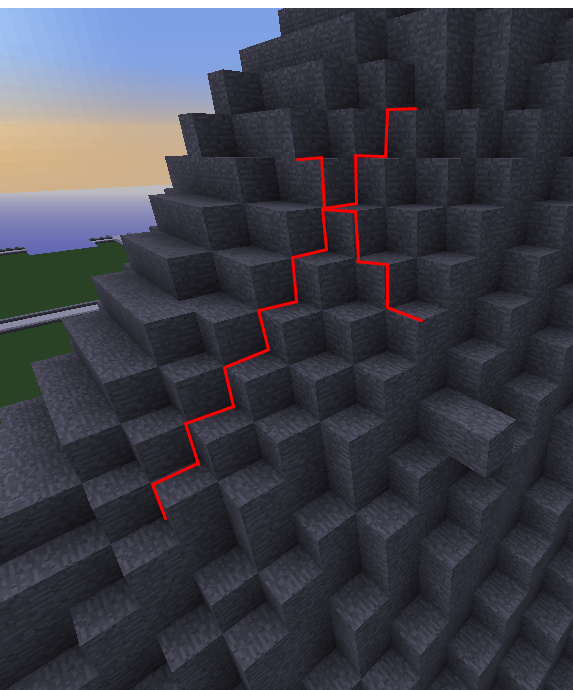
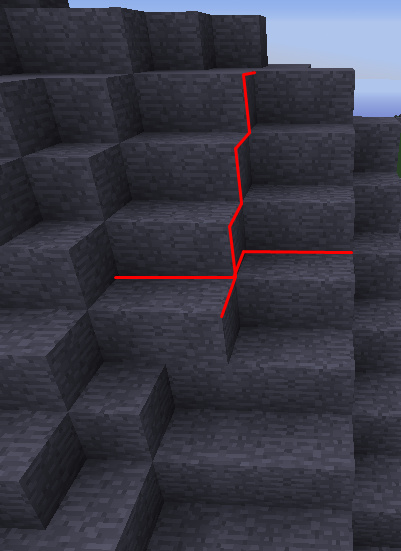
/b bband/b e smoothvoxel sniper brushes, which takes longer and will probably require manual fixing of the staircasing* effect created by these brushes. Staircasing is very bad in terrain because it is a repeating pattern, and terrain is naturally random and organic. Staircasing looks too artificial and is, unfortunately, an artefact produced by many of Minecraft’s tools.
-
The texturing phase, this is my favourite. I use a combination of different masks in the //replace command to get the results I want. My favourite masks by far are the angle mask,
/[angle1d][angle2d]and the simplex mask#simplex[size][pattern]. The most simple texturing is accomplished by replacing everything above or below a certain angle threshold with a placeholder block, then using two #simplex masks to place in the final blocks. Example of the simplex masks://replace diamond_block #simplex[18][1,1:5,3,3:1],#simplex[17.9][1,1:5,3,3:1]
The slightly smaller simplex mask makes it so that the blobby shapes become rougher and mixed with the other blocks.Some other masks I use for more complex texturing are the Extrema mask (like angle mask but with ^ instead of /) Example: https://twitter.com/jessepaleg/status/990594870858338305
Adjacency masks (tutorial: https://www.youtube.com/watch?v=JCj0Xpi1yMo
And any other new masks I pick up from other builders.
-
Paste in trees, vegetation, replace the air above certain blocks with tall grass and other kinds of plants, etc.


*Examples of staircasing:

**To teleport to the example plot, do
/plot tp 7;-7 or /plot tp Enoshade 5
